A camera body can be available for rent while the planned lens, power, monitor, recording media and support have never worked together as a kit. The failure often appears at prep: a lens attaches but vignettes in the intended frame; the director sees a signal with the wrong look; the card records, yet the data team lacks the reader. A catalogue match is a shortlist, not a tested shooting configuration.
ONCE recently published a Shenzhen film equipment rental catalogue covering cameras, lenses, lighting, monitoring, power and support. Use it to start a conversation about possible components; confirm actual availability, versions and fit with the supplier. This guide begins after that shortlist. It shows how to rehearse one representative shot from lens mount to reopened media before pickup. Our earlier studio selection guide discusses space, power and access; the checklist here concerns the assembled camera chain.
Choose a demanding shot before choosing a body
Pick the shot most likely to expose a mismatch: perhaps a low moving camera, a focus pull and a director watching from another part of the set, followed by an immediate handoff to editorial. Write down the intended frame, acquisition format, frame rate, lens range, move, monitoring location and expected continuous run. Mark unknowns as open decisions. A manufacturer specification for an individual component does not establish the behavior of the whole build.
ARRI's official configuration overviews separate cameras, electronic and mechanical accessories, media, lenses, control systems and support into compatibility diagrams. That is a useful model for checking exact combinations. It is not a claim that every item in ONCE's catalogue is an ARRI part, or that a diagram substitutes for a test of the physical rental kit.
Six checks from lens mount to reopened footage
- Lens and body. Record the exact body, mount, lens and adapter versions. Mount and remove the actual lens, look for mechanical interference, then inspect all four corners at the intended image area and focal lengths. Test the focus travel and any lens data the shot needs. ARRI's lens mount explanation is a useful reminder that physical fit, electronics and metadata are different questions.
- Power and rig. Run the camera, monitor, wireless link and focus control together on the planned batteries, plates and cables. Verify connectors, polarity and allowed operating ranges against the relevant manuals; do not improvise an electrical adapter at prep. Build the full rig on its intended tripod or stabilizer. Check balance, quick-release hardware, rod clearance and the full movement path.
- Recording and data. Record a short version of the shot at the agreed frame rate, resolution and codec on the actual supplied media. Play it in-camera. Have the data lead copy and verify the file with the intended reader, then open it in the receiving software. Check picture, sound where relevant, timecode, naming and practical capacity. Mode support depends on the exact camera, firmware and approved media; verify those specifics from the current manufacturer documentation and the test.
- Director's monitor. Send the output through the actual cable or wireless path. Check frame guides, whether delay affects the shot, the monitoring LUT and the distinction between the viewed image and the recorded file. Save a photo of both the monitor and relevant camera settings so the shoot uses the same interpretation.
- Focus and movement. Run the nearest and farthest marks while completing the camera move. Watch motor engagement, cable travel, frame obstructions and the operator's view. The person operating a specialist rig should confirm the load and safe attachment; a catalogue entry cannot do that for them.
- Power-cycle and reopen. Shut down, rebuild the critical connection and repeat the record-and-open check. Log missing parts, warnings and any provisional adapters. A replacement part remains unapproved until the affected checks have been repeated on the final build.
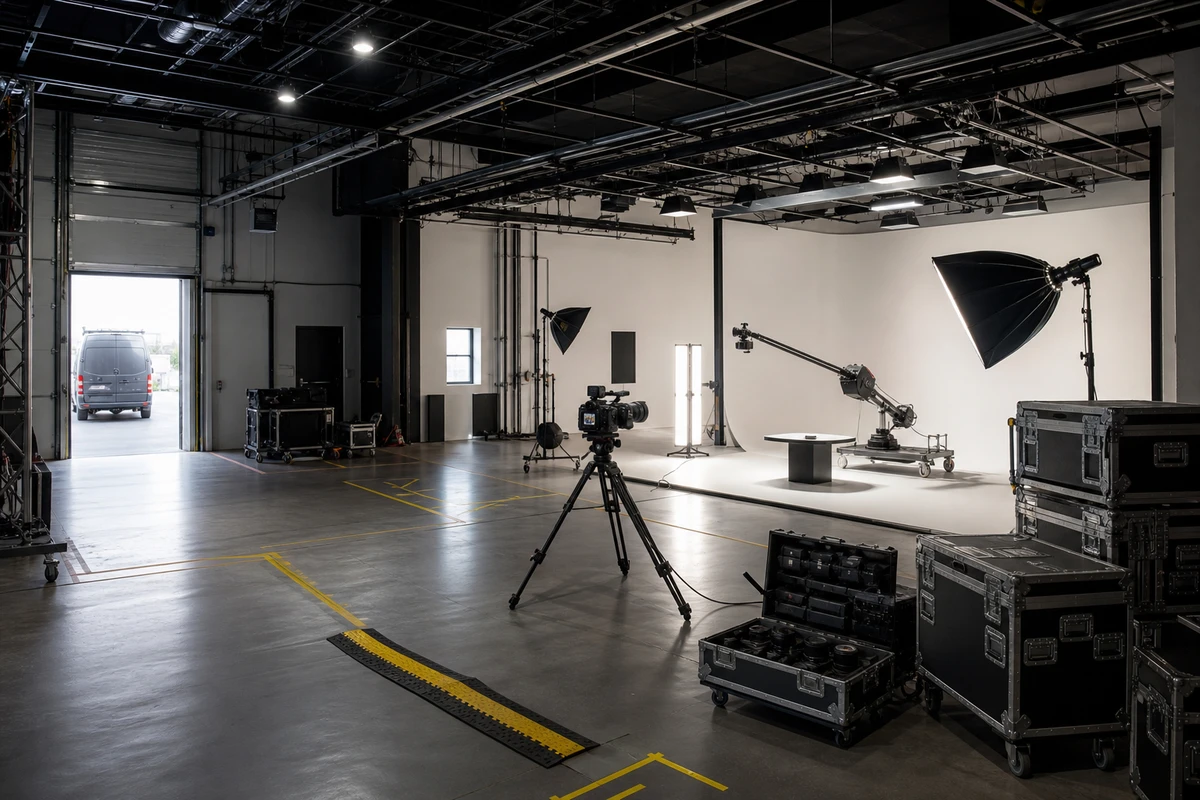
Turn the test into a one-page handoff card
For each line, capture the intended use, exact supplied model, action performed, evidence, result and owner. A short sample clip and its copy-verification record are more useful than a list of green ticks with no file to open. Leave the model field blank until you have the physical item.
| Chain | Minimum evidence | If it fails |
|---|---|---|
| Lens / body | Assembly photo and corner/focus frames | Re-test after changing lens or adapter |
| Power / support | Simultaneous run and complete move | Have the technical lead verify connection and load |
| Record / data | Sample clip, verified copy and open-file capture | Change media or reader workflow; record again |
| Monitor / focus | Signal-path photo, settings and full rehearsal | Isolate the failed link and repeat with final parts |
Use “pass,” “retest” or “not applicable”; “should work” is not a result. Mark who supplies batteries, cables, media and readers. If the delivered item has a different version or adapter from the tested one, reopen the affected lines before anyone signs off.
A supplier request you can adapt
“We are planning a commercial shoot with a moving camera and a remote director monitor. Using the agreed image area, frame rate, lens requirements and editorial delivery format, please identify the exact available camera, mount, lenses, power, monitoring, support, media and reader, including quantities. Allow time for a physical kit test. We will record a representative move, play it back in-camera, verify a copy and open it in the receiving system. The catalogue and initial equipment list are candidates, not a compatibility or stock guarantee.”
If you have a script or storyboard, bring the most difficult shot, location constraints, delivery format and existing kit to the ONCE project enquiry. The actual rental and camera teams can then confirm a build and its test ownership before the shoot.