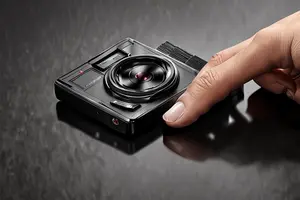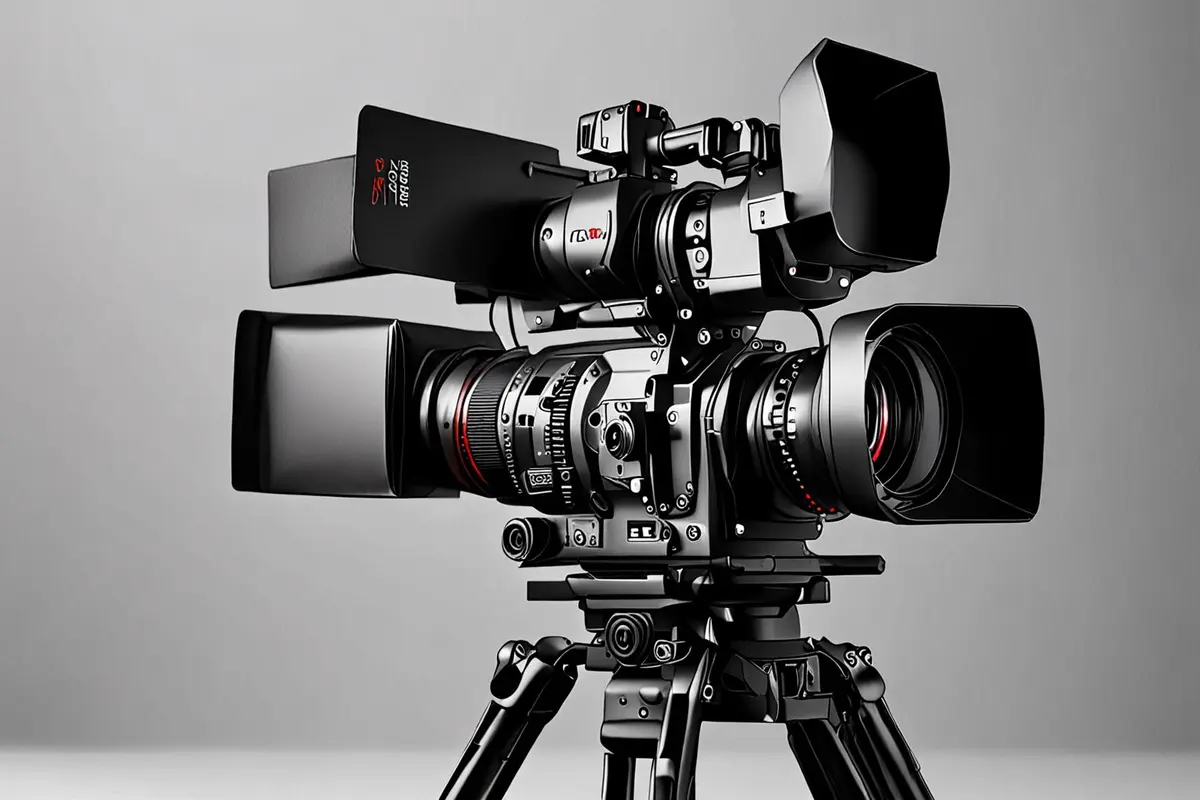
Brand-film crews often use a Sony FX6 as the main camera and an FX3 on a gimbal or in tight spaces. Both may record S-Gamut3.Cine and S-Log3, yet skin tones still drift in the grade. One angle leans green, another magenta. The FX6 face feels open while the FX3 shadows feel muddy. Applying the same LUT can make the difference more obvious. S-Log3 defines a recording curve and gamut starting point. It does not automatically align white balance, exposure, lenses, lighting, or monitoring.
The same recording format does not mean the same image conditions
S-Log3 and S-Gamut3.Cine place both cameras in a comparable color framework, but the pixels still come from their individual conditions on set. A 200K white-balance difference, a small tint shift, a face turning toward another source, or half a stop less exposure on the second camera can remain visible in skin. One transform LUT applied to both clips simply reveals those differences together.
Sony describes S-Log3 on the FX3 as providing grading flexibility and making matching with other Cinema Line cameras easier. The promise is a shared starting point, not automatic equality. Reliable matching begins by interpreting each input correctly, then aligning exposure and white balance, and finally deciding whether skin and environmental color belong to the same scene.
Cine EI aligns shooting logic, not recorded brightness
Sony's Cine EI guide explains that recording stays at a base ISO while EI changes monitoring and exposure decisions, redistributing latitude between highlights and shadows. The FX3 also separates Flexible ISO, Cine EI Quick, and Cine EI modes, each handling ISO, base ISO, and monitoring differently.
Seeing “800” on both cameras does not prove that their exposure strategies match. One camera may record at a base ISO in Cine EI while EI shapes the monitored image. The other may be in Flexible ISO, or it may use a different monitor LUT and exposure offset. Before grading, confirm shooting mode, base ISO, EI, shutter, aperture, ND, and monitor LUT rather than relying on one ISO number in a file browser.
A practical set routine is to record the same gray card or stable skin area on both cameras for a few seconds while preserving waveform or false-color references. Post-production can then see what each camera received at the same moment and separate a genuine lighting change from a settings mismatch.
Correct white balance before creative treatment
Matching Kelvin values can still leave a tint difference
Setting both cameras to 5600K does not make their color identical. Lamp spectra, environmental reflections, lens coatings, and camera direction change the light that reaches each sensor. Sony's FX3 custom white-balance guide recommends a custom setting when ambient light contains multiple source types. Its general white-balance guide also notes that some discharge sources cannot be reproduced accurately with ordinary automatic balance.
If only the main camera receives a custom balance while the second camera remains on a preset, neutral areas of skin may carry different green-magenta offsets. Correct temperature and tint against scene references before building the creative look. Forcing both faces together later with curves or hue tools can distort clothing, walls, and brand colors.
Do not use the brightest point on a face as the only reference
Catchlights, forehead highlights, and reflections on the nose change with camera angle. The main and second cameras naturally see different highlight ratios. Compare face midtones, a stable area near the neck or ear, and a neutral object in the same scene. The principle from our article on catchlights in brand films also applies: a highlight carries information about space and the source, so it should not become the average color of the entire face.
Identify each input before moving into a shared working space
A common mixed-camera error is interpreting one clip as S-Gamut3.Cine and S-Log3 while another is treated as Rec.709, S-Cinetone, or the wrong Log and gamut combination. Two clips can both look flat without sharing the same input. Check camera metadata, reports, and set notes before assigning the input color space and gamma for each group.
Blackmagic's official colorist guide demonstrates DaVinci YRGB Color Managed with DaVinci Wide Gamut and Intermediate as the processing environment. Its value is not one-click camera matching. It maps different inputs into a common timeline space so exposure, white balance, contrast, and the creative look can be compared consistently.
A node-based pipeline can use Color Space Transform nodes to bring both S-Log3 groups into the same working space. Each input should be transformed once, and the output transform should remain clearly defined at the end. Footage with a baked monitor LUT or a Rec.709 image cannot be transformed again as if it were untouched S-Log3.
Match scene relationships before chasing a skin-tone line
A repeatable order is to confirm input, align overall exposure and black-white relationships, correct white balance and tint, compare skin luminance, saturation, and hue, and then address local skin or lens characteristics. If Hue vs Hue is used first to push both faces onto one line, the background and wardrobe may still reveal inconsistent exposure and color relationships.
Matching does not mean copying parameters. The FX6 may see the front light while the gimbal-mounted FX3 sees more environmental color. Identical Lift, Gamma, and Gain settings will not necessarily produce identical pictures. The goal is credible skin and light continuity across adjacent shots, not mechanically equal scopes.
Lens and lighting differences cannot all be repaired in the grade
Lens transmission, contrast, flare, and coatings can change skin reproduction. A cinema prime on the main camera and a lightweight zoom on the gimbal may differ in black density and warm-color transmission even with identical body settings. Test both lens sets briefly. When mixing is unavoidable, record focal length, filters, and matte-box conditions so post does not mistake optical behavior for a camera-color problem.
A performer can also turn from a controlled key light into mixed ambient light between angles. In that case, the “white-balance mismatch” may be a real scene change. Grading can soften the cut, but it should not erase a believable direction of light. Controlling reflections, source consistency, and blocking on set is often more natural than forcing complete uniformity later.
The final output is the object of approval
After both cameras are matched in DaVinci Wide Gamut and Intermediate, they still pass through one output transform. Rec.709, HDR, and platform-specific versions can change highlight compression and saturation. Monitor calibration, video levels, and export tags also affect playback. Consistency inside the Color page does not guarantee consistency in the delivered file.
Review main- and second-camera cuts continuously under the same output conditions. Check faces, brand colors, neutral objects, and shadow noise. If the campaign also needs vertical or short-cut versions, review local exposure after reframing. Color consistency belongs to the version the audience sees, not to a set of node values inside the project.
A dependable FX3 and FX6 matching method
Before production, align recording format, base ISO, white-balance method, and monitor LUT. On set, give both cameras shared gray-card and skin references in critical scenes. In post, identify the true input of every clip, map it into a common working space, and match exposure, balance, skin, and local characteristics in that order. Finish by reviewing the target output continuously. This turns one vague “camera color” problem into a series of decisions that can be checked.
ONCE connects camera tests, set exposure, and post-production color management in its brand video production workflow. If your project mixes FX3, FX6, or other camera systems, share the scenes, delivery color spaces, and version requirements through our TVC and brand video production service. We can then plan a matching path from source input to final output.