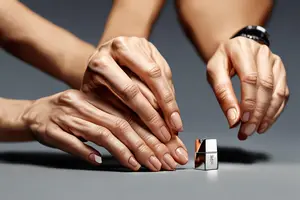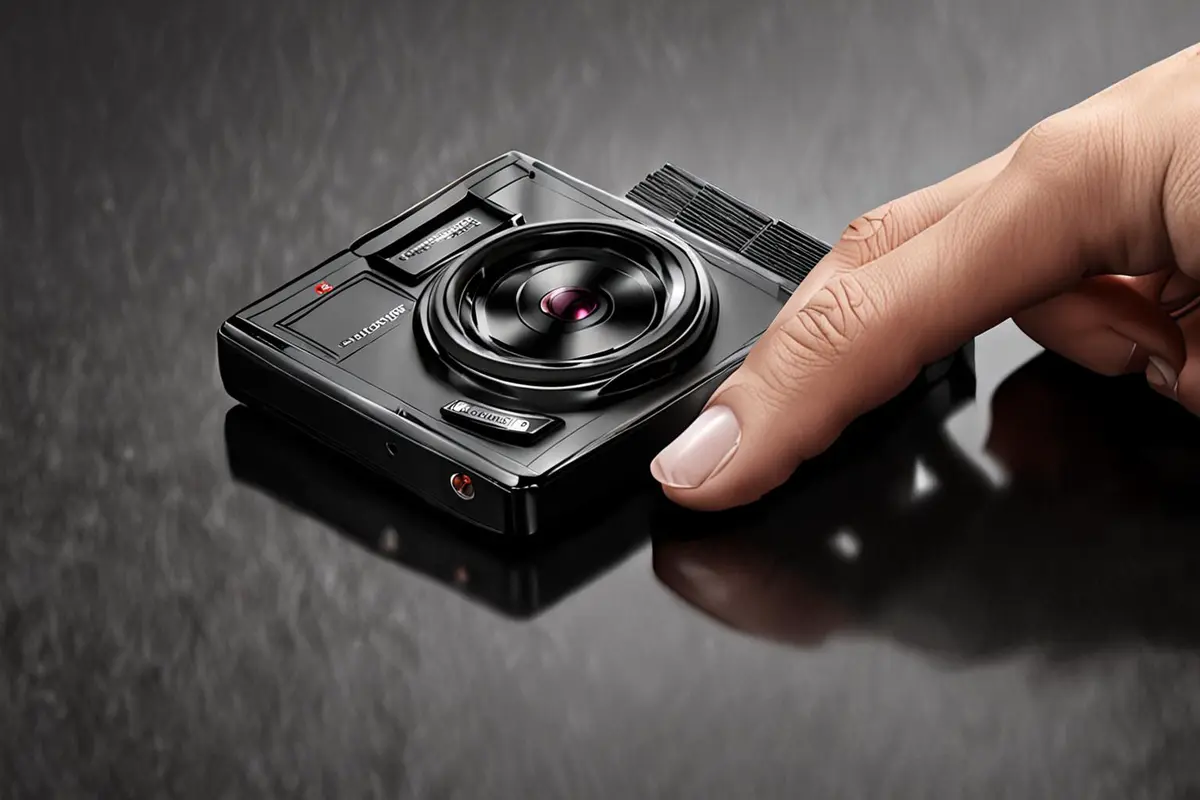
Product ads often use macro shots to prove craft: the edge of a button, brushed metal, woven fibers, or the surface of a liquid. Yet when a detail loses the hand, tabletop, and complete silhouette around it, viewers can also lose its scale. An earbud can feel like architecture; a small control can read like industrial machinery. Macro cinematography should do more than move closer. It should magnify evidence while preserving the product's relationship to the body, space, and action.
The direct answer: make the macro shot part of a relationship
Viewers rarely judge size from absolute dimensions inside one frame. They combine the full silhouette, familiar objects, finger contact, movement time, and continuity between shots. A macro shot in a product ad should therefore have one clear task: prove a material, mechanical action, or user response, then reconnect that proof to the whole product.
A reliable sequence usually has three levels. Start with a wide or medium shot that establishes the product in its environment. Use a close shot to mark the area that will be enlarged. Then enter the macro view. Returning to a hand interaction or complete product after the macro shot lets the viewer place the texture back at the correct scale. This complements our article on using shadows to show product shape and scale: shadows establish volume, while shot relationships establish a size reference.
Why macro photography can erase scale
True macro photography lets a very small area fill the frame. Nikon notes that depth of field at close distances can shrink from inches or feet to millimeters. Canon also explains that at 1:1 magnification and beyond, an area only a millimeter in front of or behind the focus point can quickly become soft. Shallow depth of field is not inherently a problem, but it can hide the silhouette, background distance, and neighboring structures at the same time.
Working distance changes the image as well. The closer the front of the lens is to the product, the harder it becomes to place lights, flags, and motion rigs. A tiny movement toward or away from the camera can move the subject outside the focus plane. During a focus pull, field of view may also shift through focus breathing. Sony lists stable angle of view during focusing as a specific movie-lens design goal, showing that this is a spatial continuity issue as well as a sharpness issue.
Give the detail a recognizable scale anchor
Use contact instead of an artificial ruler
The most natural scale anchors usually come from use. A thumb pressing a control, a fingertip crossing fabric, a connector approaching a port, or a drop moving along a bottle rim all feel more credible than placing a coin beside the product. The anchor does not need to remain fully visible in the macro frame. If direction, contact point, and motion path remain consistent across adjacent shots, viewers can carry the scale relationship forward.
Choose references that are familiar and quiet. Fingers suit consumer electronics and personal-care products. A counter edge can ground an appliance. Connectors and fasteners can scale industrial equipment. When physical size is part of the product promise, establish the reference early rather than adding an explanatory shot at the end.
Keep direction consistent from wide shot to macro
If the product opens from left to right in the wide shot but reverses in the macro shot, viewers must identify the structure again before they understand the detail. A stronger sequence preserves the axis, light direction, and material highlight. An edge that leads the wide composition can become the main line in the close shot and continue toward the focus point in macro. The edit can move quickly while spatial continuity remains intact.
Shallow depth of field is useful only when the evidence shares a focus plane
Macro shots often use shallow depth of field to isolate a subject, but a product demonstration may need more than one point to remain legible. If a button label, its travel, and the fingertip sit at different depths, focusing on only one of them will not explain the action. Change the camera angle first so the critical details sit closer to one plane, then choose the aperture. Rearranging the geometry often works better than simply stopping down.
A smaller aperture can extend depth of field, but it also demands more light, a slower shutter, or higher ISO, and it may introduce diffraction. Canon's official macro guide discusses these trade-offs together. Focus stacking can help with a static product, but a hand, liquid, or mechanism rarely repeats perfectly across frames. For video, a designed focus handoff is often more practical: show the texture first, then move focus to the end of the action instead of trying to keep the entire depth sharp.
Motion speed changes how large and heavy the detail feels
Magnification turns a small displacement into prominent motion. A one-millimeter slide may be almost invisible in a wide shot but travel across much of a macro frame. The action speed cannot simply be copied from a normal lens. Too fast, and the part feels like a giant object sweeping past camera. Too slow, and a button, latch, or liquid can lose its real elasticity.
Record one take at the product's actual speed, then adjust performance and camera movement according to frame coverage. A spring return, magnetic closure, and breaking droplet each need their own acceleration. They should not all become uniform slow motion. When slowing footage, check shutter, motion blur, and sound rhythm together so visual weight still agrees with the real structure.
When scale ambiguity can be intentional
Unclear scale can be a creative device. A launch reveal, material mystery, or abstract opening can make a product surface look like an unfamiliar landscape. The sequence still needs a moment of recovery: the camera pulls back, a hand enters, or the full silhouette connects with the texture. Without that recovery, the macro footage remains decorative. With it, the detail becomes product value.
In a performance ad, the mystery should be brief because viewers first need to know what the product is and how it works. A brand film can sustain abstraction longer, but it should restore a reference at a decisive narrative point. The communication goal sets the freedom, not the lens.
Design macro shots in the storyboard, not as spare footage
For every macro frame, write down three things during storyboarding: what it proves, which scale cue the previous shot supplies, and how the next shot returns the detail to use. Then check the physical sample, mechanism, lens working distance, lighting position, and focus path. This prevents a shoot from producing a set of attractive close-ups that cannot form a coherent sequence.
ONCE approaches commercial image production by connecting product structure, performance, cinematography, and editing. If you are planning a launch film, use our brand and product video solution to share product references, channels, and essential details. We can then discuss a shot path that moves from recognizable scale to convincing macro evidence.