A brand brings a table lamp to a meeting. The main question is often not whether it can look premium, but why overseas buyers should believe it provides comfortable light and is easy to install. A home-lighting product video must turn color temperature, brightness, and angle adjustment into visible results in a real room. Establish that evidence before shooting atmospheric images; a beautiful master film alone cannot answer the buying questions on a Shopify product page or in a short ad.
First, translate "light" from the parameter list into tangible benefits for the user.
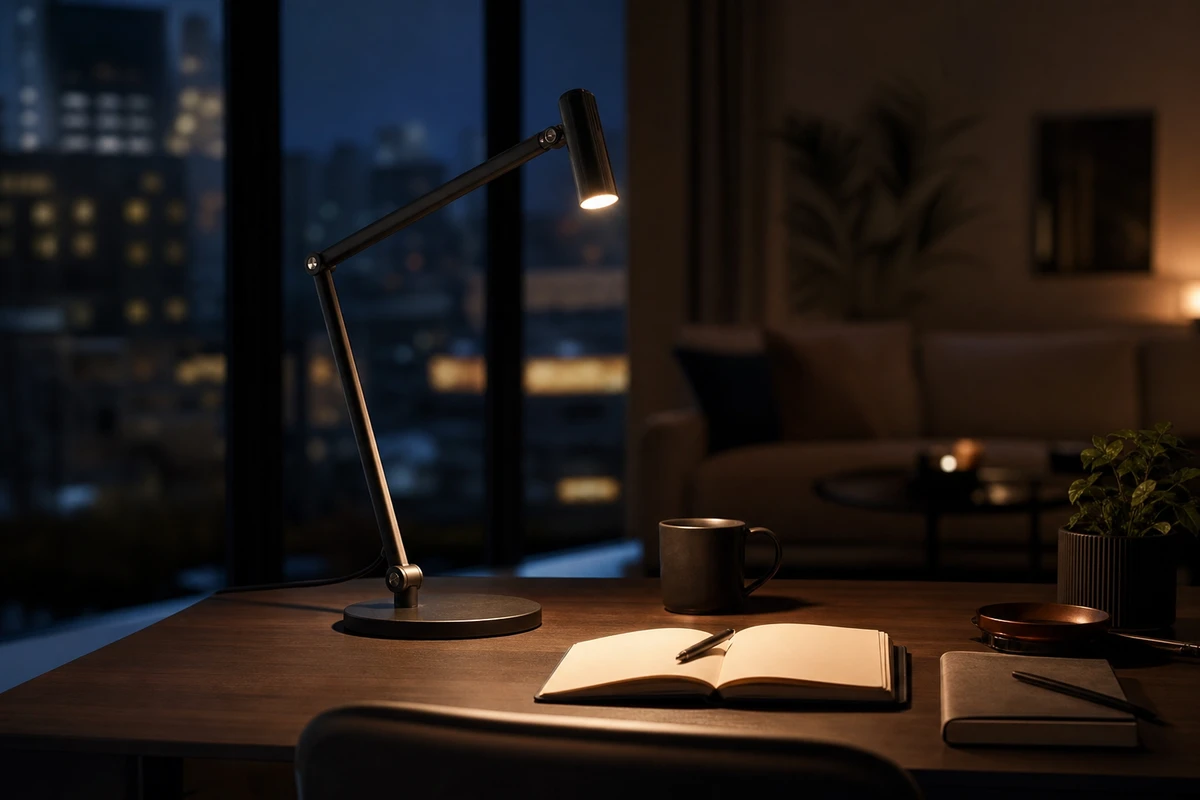
The brief for lighting videos is often flawed: everyone talks about 3000K, stepless dimming, and color rendering index, but no one explains how the visuals should make someone's life easier at a specific moment. More commonly, clients provide a full page of technical specifications, but only three things can truly create a visual hook: reading comfortably at night without eye strain, clear visibility for tasks on the desktop, and an adjustable lamp arm that easily directs light to where it's needed. Translate these into shot objectives, and then the product selling points will have a clear focus.
ONCE VISUAL starts with a “parameter–scenario–experience” table: color temperature connects to evening relaxation or focused work; beam angle connects to keyboards, picture books, and craft surfaces; installation connects to whether a desk in a rented home needs drilling. This basic step turns the script from a sequence of product close-ups into a path from a practical problem to a visible result. Translate technical parameters into scenes the viewer can understand.
Use three shots to demonstrate, rather than using three sentences to promise.
The first sequence supplies the hook. Instead of opening on a logo or black screen, show a real moment when someone cannot see clearly: design sketches on a desk late at night, a parent working after the children are asleep, or a hand pulling a reading lamp closer. The second sequence demonstrates the function. From the same camera position, show the lamp head turning, brightness changing, and the pattern of light on the desk, so viewers can compare the result without relying on narration. The third sequence delivers the hero frame: a clean space, a clear product outline, and an everyday setting that expresses the emotional benefit.
Every cut should answer a buying question. Wide shots establish the room, macro shots show materials and the feel of the controls, side-backlighting reveals metal edges, and overhead shots show the illuminated desk area. B-roll without a clear shot task soon becomes attractive footage that has no useful role. Annotate each storyboard with “What does this prove?” so the director, client, and media buyer share the same purpose.
The product page needs to build trust first; then, the ad short video needs to drive clicks.
Shopify product media can include images, 3D models, and videos, subject to theme support. The hero video does not need to explain every detail on its own. The Shopify product-media guide explains how media can help customers understand product function and size. For a brand-owned store, divide installation, adjustment, the illuminated area, and actual desk results into sections that viewers can pause and inspect, instead of using only a 15-second advertisement.
For the advertising version, our recommendation is to show the product and its result together in the first two seconds, explain one selling point in the middle, and end with a clear CTA. Google Ads’ creative guidance checks branding, duration, human voice-over, and aspect-ratio coverage, including horizontal, vertical, and square videos in an ad group. Plan safe zones, clean backgrounds, and hero frames that support different crops during filming, rather than forcing a horizontal master into 9:16 afterward.
Schedule shooting days based on the "version matrix," not based on the "final video length."
A good main video can be visually appealing, but it's often difficult to create short ad clips from it. This is usually not a problem with the editing itself, but rather that the initial shooting didn't include enough footage for different versions. For lighting projects, at least four sets of scene assets should be prepared: quiet reading, working from home, crafting or painting, and relaxing before bed. Each set should have four types of usable shots: product placement, hand movements, lighting effects, and spatial reactions. This approach can produce horizontal videos for product pages, vertical videos for Meta, question-based hooks for TikTok, short looping clips for emails, and unbranded assets that influencers can use to create their own content.
Do not rely on one universal master film. At the call-sheet stage, ONCE VISUAL plans four treatments of each selling point: a hero shot, a demonstration, a reaction, and a composition with space for text. Keep 6–10 seconds of clean action in each scene. Media buyers can then work with editors to change the hook, selling-point order, or CTA in a cutdown without a reshoot. Plan replaceable variables from the beginning instead of trying to address creative fatigue by repeatedly changing the music.
On-set judgment of lighting quality: authenticity is more important than showing off.
Lighting products are especially important to control. In order to make "brightness" appear obvious, many shots darken the background too much, which makes users doubt whether it will be uncomfortable for everyday use; in order to show color temperature, white walls are often adjusted to be blue or yellow, immediately making the product look like a conceptual poster. We will first set a basic ambient light based on real-life brightness, and then let the product's light handle local tasks, preserving details in the dark areas. The cover is not decoration; it is a promise on the first screen: it must first allow people to understand that this is a believable use case.
Build any AIGC extensions on the materials, light direction, and product proportions captured in live action. AI can extend a scene into different spaces and create text-free versions with room for localized copy. It cannot replace physical evidence of the fixture’s structure, lighting effect, or interaction with a hand. Capture the real product first, then extend the versions, so overseas viewers can still judge whether the product suits their needs.
After launch, how to conduct post-campaign analysis and optimization?
Record asset IDs in the version matrix: H1 is the problem hook, H2 the room-result hook, D1 the angle-adjustment demonstration, D2 the brightness demonstration, and E1 the evening hero frame. During the first week, compare three-second retention, completion rate, clicks, and landing-page add-to-cart actions together. Do not judge performance by views alone. If H1 attracts clicks but few additions to cart, check whether the product page needs clearer installation and size evidence. If H2 has a low completion rate, test a shorter emotional build-up that reaches the result sooner. Separate the variables before deciding to reshoot.
Feed the strongest shots back into the next brief: which angles explain the illuminated area, which scenes suit different markets, and which copy belongs on the landing page instead of over the image. Explore the ONCE VISUAL video-production articles for more on shot planning and delivery. The resulting home-lighting assets can support a brand-owned store, overseas social media, and repeated advertising tests.