Product ads can show shape easily, but temperature is harder. The viewer cannot touch a chilled bottle or feel the warmth rising from a heated cup. The camera has to turn cold and heat into visible and audible evidence through ice, condensation, vapor, material response, human touch and sound.
Temperature is not created by adding a few ice cubes or a layer of white mist. A believable thermal state has a source, a duration and an effect on nearby objects and people. When those relationships conflict, even a beautiful slow-motion shot feels staged.
Write temperature as a process
“The product is cold” or “the drink is hot” describes a result. A storyboard should also ask why it reached that state, when the change begins and how the audience discovers it. A bottle may develop droplets after leaving refrigeration. Vapor, cup-wall changes and a person's grip may appear in sequence after hot water is poured.
A process gives the shot a beginning and an end. The surface can move from dry to condensed, or visible vapor can gradually disperse. Temperature becomes an event rather than a static prop treatment.
Ice and condensation communicate different facts
Ice describes the environment before it proves product temperature
Ice around a product first tells us that the setting is cold. If the bottle remains perfectly dry, the liquid shows no change and the performer reacts as if nothing happened, viewers may not believe that the product itself is chilled. Ice establishes context; surface and usage cues complete the cause and effect.
Condensation connects a cold surface to the surrounding air
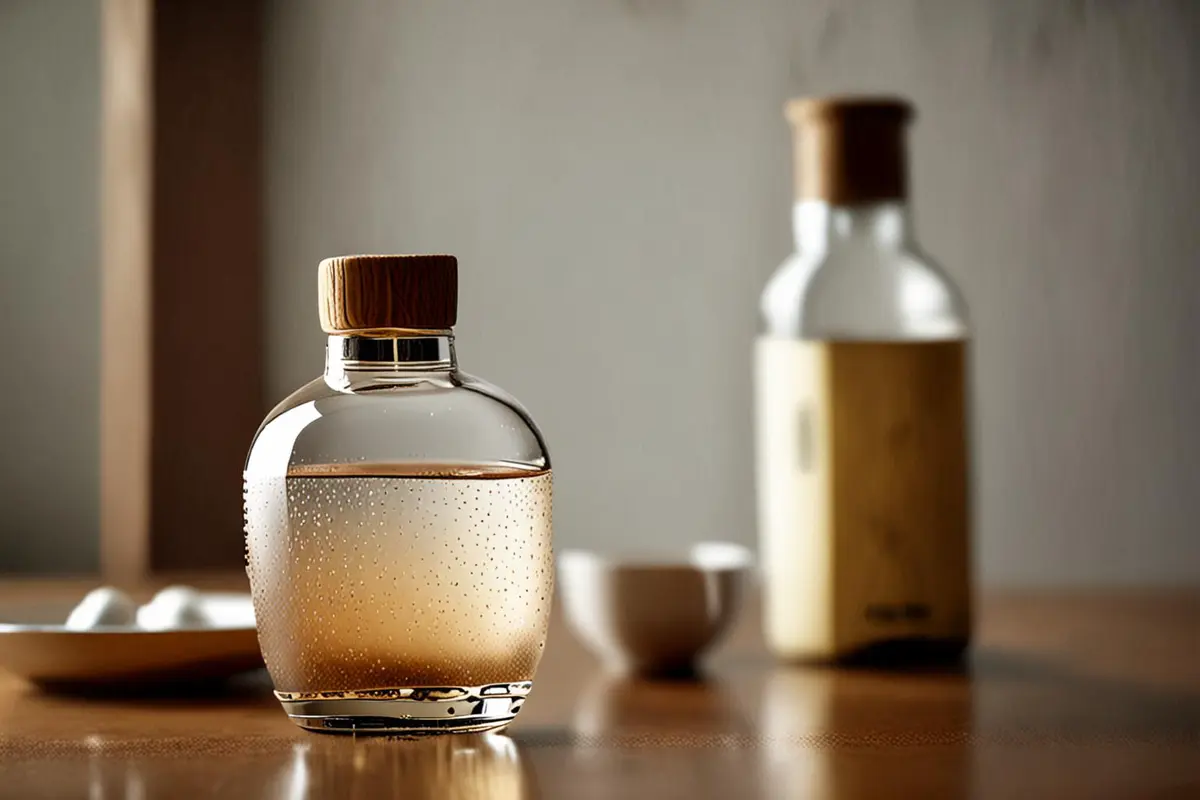
Condensation forms when a cold surface meets humid air. It often feels more truthful than artificial frost for a product that has just left refrigeration. Droplet size, density and movement should match the shot duration. Perfectly even beads look sprayed on, while heavy streams can make the product appear soaked for too long.
Prepare matching samples at different stages: freshly removed, beginning to condense and already streaked. This is easier to control than repeatedly wiping and spraying one hero product.
Vapor needs a believable heat source
Show where the vapor comes from
With hot drinks, cooking devices and heating appliances, viewers look for an outlet: a cup rim, spout, lid gap or food surface. Vapor rising evenly from the wrong location feels like studio haze. Its movement should belong to the product function or the user action.
Light and background determine visibility
Bright vapor disappears against a bright background. Side or back light can define fine moisture, while a darker or stable background provides separation. The goal is not to make vapor as white as possible, but to show thickness, direction and dispersal.
Not every hot product produces obvious visible vapor. A commercial should not substitute exaggerated mist for actual performance, especially when temperature imagery could change how a viewer understands the product. Use the real sample state and confirmed product information as the limit.
Material decides how temperature becomes visible
Metal edges, glass vessels, matte plastic and textiles respond differently to droplets, fog and highlights. Glass can reveal both the inside and outside state. Metal amplifies condensation and environmental reflections. Rough surfaces may spread moisture into a less readable film. Lighting should follow the material instead of turning every cold product into a blue rim light.
This resembles making buttons, dials and hinges feel tactile: a sensory impression comes from physical change, not adjectives. For temperature, the decisive details may be whether droplets hold, whether vapor bends around the product and whether touch leaves a trace.
Human touch converts temperature into body response
When a person lifts a chilled bottle, grip duration, finger tension and the pause after contact can communicate temperature. Pulling back too dramatically becomes comedy; showing no response weakens the cue. Direction should define whether the sensation is comfortable, refreshing, stimulating or something to approach carefully.
A hot-drink shot does not always need blowing. Hands wrapping a cup, a tentative touch before a stable grip, or a brief wait before sipping can establish heat. The action must respect the product design: an insulated handle and a cup held directly are different experiences.
Sound completes an invisible thermal state
Ice touching glass, bubbles breaking, liquid pouring, water moving inside a kettle and the small decay after heating stops can confirm that temperature is changing. The mix does not need to amplify everything. One synchronized, material-specific sound is often more credible than layered “cool” or “boiling” effects.
Timing matters. If boiling continues unchanged after the pour ends, or ice keeps clinking after it has stopped, sound separates from the image. Cold and heat should still read in silence; sound should make that reading more certain.
Thermal continuity is harder than one beautiful shot
Condensation grows and runs, ice melts, and vapor weakens as liquid cools. When different camera angles are recorded far apart, droplets, ice shapes and fill levels can change. Each shot may look attractive, while the edit makes the product jump between thermal states.
Number samples and record the stage, droplet pattern, ice count and liquid level for each setup. Finish connected actions together, then use matching backups for beauty close-ups. The principle is related to weather continuity in brand films, but product temperature usually changes faster and depends more heavily on prop preparation.
Color temperature can suggest, but cannot prove
Blue often suggests coolness and orange suggests warmth, but color is only a visual convention. A blue frame does not prove the product is chilled, and a warm room does not prove food has just left an oven. Without moisture, material change, contact response or sound, the grade becomes a generic filter.
Use color to help viewers find physical evidence: preserve highlights on transparent droplets in a cool environment, or separate vapor edges and food texture in a warm space. Grading can unify the experience, but it should not invent a thermal reaction the product never produced.
Live action and generated scenes need one temperature logic
A live-action product placed in a generated background must share the same thermal conditions. A humid summer setting with no condensation on an icy bottle, or a dry winter scene with tropical-looking droplets, breaks credibility. Vapor also occludes the background, catches environmental light and changes with airflow; it cannot be treated as a flat transparent layer.
This extends the same principle as building a believable relationship between a real product and an AI background: perspective, shadow and reflection are not enough. The product should also show the consequences of the scene's temperature and humidity. A generated environment can expand the world, but it should not rewrite product facts.
A practical workflow for temperature shots
First define whether the audience should feel icy, cool, warm or intensely hot. Choose one or two main physical cues, then test real samples to learn how quickly droplets, vapor or ice change. Set the shooting order and prepare backups. Light the evidence first, then add brand color and atmosphere.
Record the beginning, peak and fading stages. During review, mute music and copy, then ask whether product, props and performer belong to the same thermal state. Check that color and sound do not exaggerate function. A strong temperature shot explains how the sensation happens, how it is used and why it matters to the product.
If you are planning a product film for beverages, appliances, beauty or another category where heat and cold shape the experience, contact ONCE to discuss thermal props, lighting and production.