Identifying Core Conflicts During Pre-Production
The most common visual disasters in digital product videography are overexposed screens or cluttered environmental reflections. At the project outset, the brand must clarify whether the priority is screen content clarity or body texture quality, as these often conflict in lighting requirements. Prioritizing screen readability typically requires dimming ambient light and increasing screen brightness. Conversely, emphasizing the premium feel of metal or glass frames requires complex environmental lighting that easily creates distracting screen reflections. The production team should confirm priorities via reference images during initial discussions. If the brand desires both, the script phase must include a shot-list strategy separating screen close-ups from exterior shots to avoid irreconcilable lighting ratios within a single frame.
Reference Materials Required from the Brand
To improve communication efficiency, brands should prepare specific visual references before launching the project. These should go beyond competitor links to include screenshots or timecodes indicating preferred lighting styles, reflection patterns, and screen color performance. Engineering renders or high-precision models are also needed for potential post-production screen replacement. Specifying the target platform is crucial, as compression algorithms for video encoding, color space, and brightness vary. Brands must also provide source files for screen content to ensure resolution and frame rate match shooting requirements. Without these basics, the team can only rely on general estimates, increasing post-production revision risks and costs.
Set Construction and Crew Roles
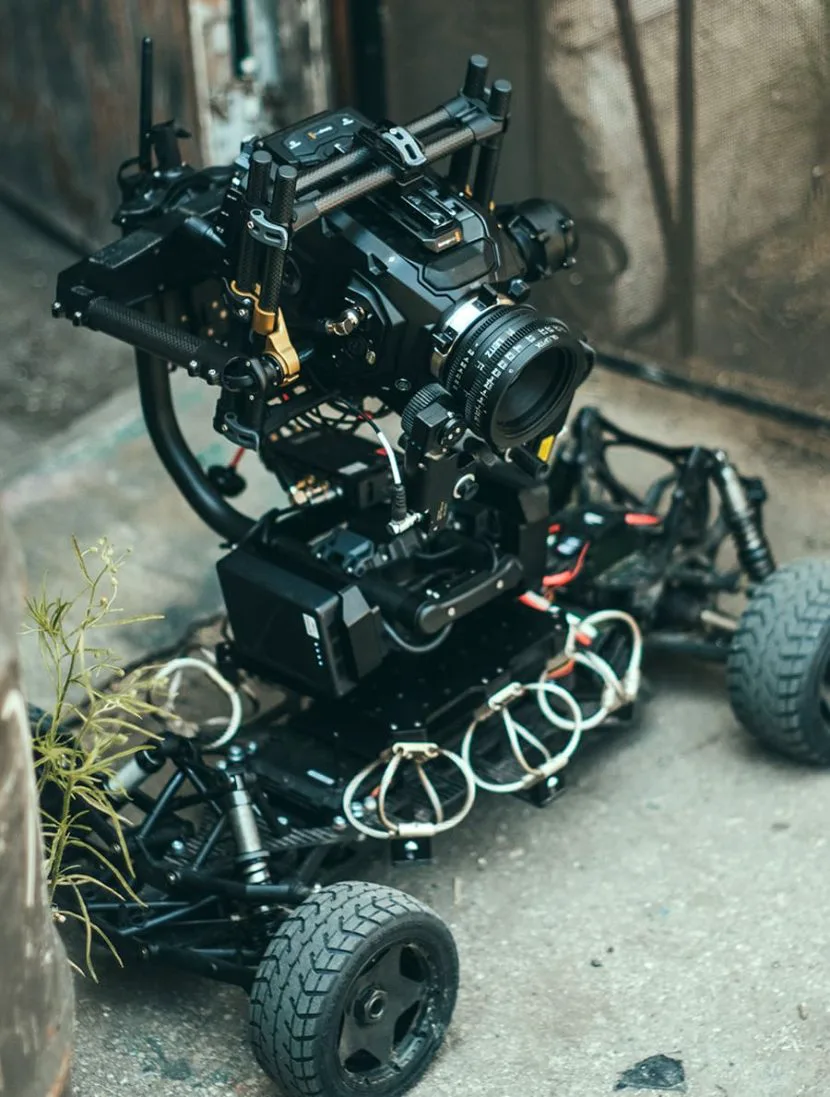
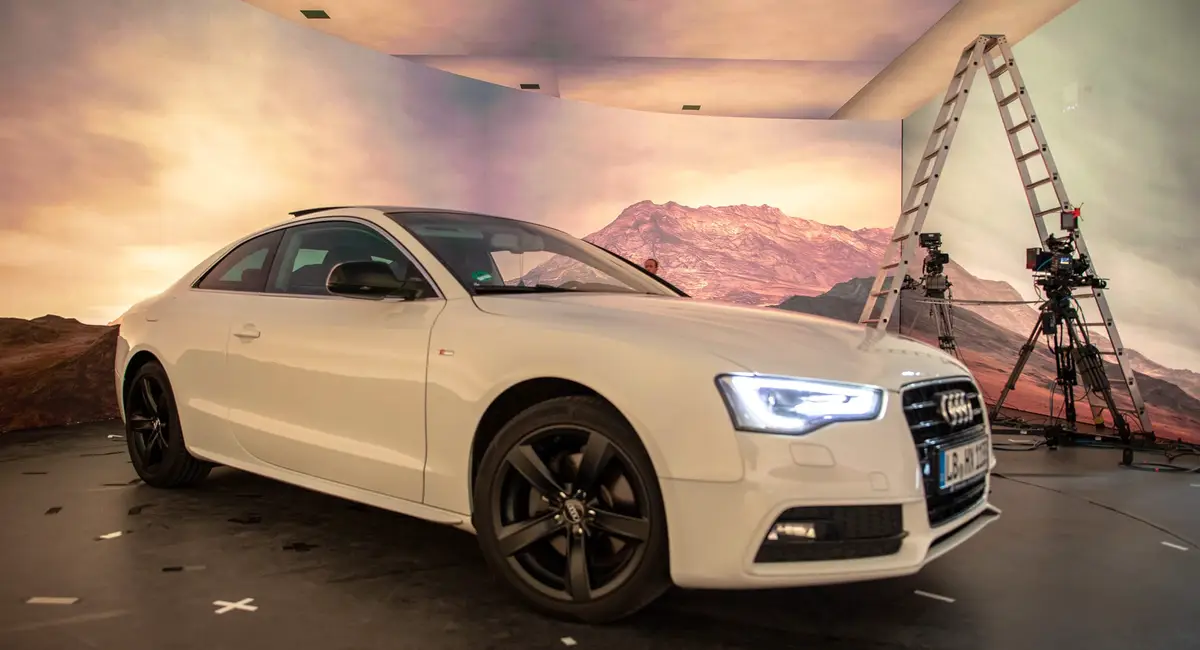
Professional sets require strict spatial isolation and collaboration. The cinematographer handles composition and exposure; the gaffer shapes lighting layers; and the digital asset specialist prepares HD UI materials for post-production replacement. Ideally, use an all-black or dark gray cyclorama to minimize stray light. For simulated lifestyle scenes, blackout windows and remove all objects causing irregular reflections. The director must monitor waveforms in real-time to prevent highlight clipping and preserve shadow detail. This precise division of labor ensures high-quality footage and a solid foundation for compositing.
Lighting Control Strategies During Shooting
Controlling environmental reflections during shooting hinges on isolating light sources. Cinematographers typically surround the product with black flags, retaining only necessary rim lighting. For screen brightness, lock exposure manually and use waveform monitors to check for highlight clipping. Note that perceived screen brightness differs from sensor data; always trust the oscilloscope. If total darkness is impossible, use polarizers to eliminate non-metallic reflections at specific angles. Avoid aiming large softboxes directly at screens; use strip lights or point sources for edge definition instead. Uncontrolled natural window light causes unpredictable color temperature shifts, so block all natural light and use artificial lighting exclusively to ensure color consistency.
Screen Replacement Techniques in Post-Production
Even with rigorous shooting, filming screens directly risks moiré patterns or refresh rate sync issues. Professional workflows therefore typically employ post-production screen replacement. Editors should record clean plates with tracking markers or film product silhouettes against green screens. In post, map HD UI assets onto 3D models or planar tracks. This eliminates reflections and uneven brightness while ensuring sharp text. Color grading must seamlessly blend the screen area with the device body to avoid visual disconnects. Sound design should match the visual rhythm to enhance the tech aesthetic. If vector UI assets are unavailable, redrawing interfaces significantly increases labor hours and may compromise detail accuracy.
Key Metrics for Final Delivery Review
Acceptance reviews should rely on objective checklists rather than subjective feelings. First, verify screen content readability across devices, ensuring key information is visible on small mobile screens. Second, inspect body reflections for cleanliness, checking for visible crew or equipment. Verify that screen color temperature aligns with brand VI guidelines to avoid blue or yellow casts. Check audio noise floors and music licensing scope. Finally, confirm delivery file formats, resolutions, and bitrates meet current platform upload standards. Brands should consolidate feedback after receiving the first draft to prevent version confusion from fragmented communication. All revision records should be documented in writing as the basis for final payment.
Risk Management and Limitations
Not all digital product videos suit high-precision screen replacement or studio setups. For lifestyle recommendation shorts emphasizing real-world usage, overly perfect reflection-free visuals can appear fake. Such projects are better suited to natural light environments, accepting some interference for authenticity. Additionally, screens with special anti-glare coatings or curved designs make post-replacement difficult and costly; prioritize practical shooting with optimized lighting instead. Projects with limited budgets and tight deadlines should avoid complex compositing, opting for simplified visuals supplemented by copy and voiceover. Brands must rationally select production specs based on marketing goals to avoid resource misallocation.
Recommended Next Steps
If your team is planning a digital product video shoot, start by reviewing existing assets and marketing goals. Determine if high-precision screen display is necessary and if high-quality UI source files are available. Then, contact a production team experienced in cross-border e-commerce for a preliminary technical feasibility assessment. The ONCE website lists services covering product and overseas marketing video production, offering professional support from scripting to final delivery. Discuss copyright scope and delivery standards thoroughly before partnering to ensure smooth progress. Never start shooting without clarifying technical challenges to avoid wasting time and budget on rework.
If you are preparing a product video project, organize your brief, reference images, product or corporate materials, delivery platforms, and copyright scope first, then review theE-commerce Product Video Services pageto translate abstract preferences into actionable production parameters.