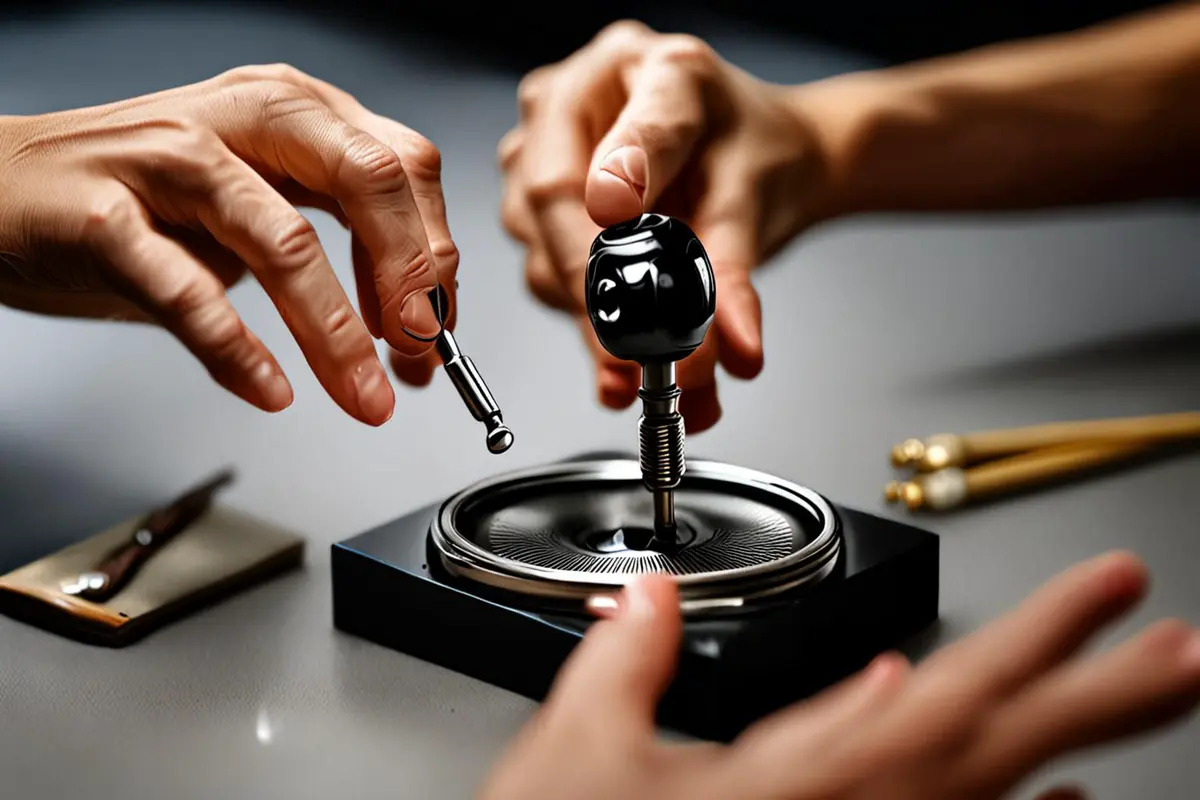
Before a China production team rents a macro lens for your product demonstration, send the complete action as well as the detail reference. A sharp frame cannot establish that a hand can enter, operate the product and leave the setup ready for another take.
Imagine a small control knob that looks excellent in a static close-up. Once the operator reaches in, the hood obstructs the hand and a reflector blocks the turning path. This is a hypothetical example. The issue is usable working clearance, not simply whether the lens can focus.
Read the distance from the correct starting point
Sony’s ILCE-7M4 lens specification note defines minimum focus as the distance from the image sensor to the subject. Its ILCE-7S distance-measurement guide directs users to the sensor-position mark on the camera. These are references for measurement conventions, not recommendations of those products for macro work.
Edmund Optics’ Imaging Fundamentals defines working distance from the front or first surface of the lens to the object, and field of view as the visible area of that object. The starting points differ. A minimum-focus number should not be treated as the empty space available in front of the lens.
On set, a hood, filter accessory, flag or support can occupy more of that space. Read the manufacturer’s definition, then check the actual assembled configuration. Sources were checked October 28, 2026; their pages do not display confirmed publication dates.
Agree on the visible area first
Does the shot need a small patch of texture, or the relationship between fingers, the knob and an adjacent connector? Those are different framing tasks. Approve a test frame showing the required area and intended crop before pushing the lens toward its closest position.
Record the camera, lens, focus position and accessories. When comparing configurations, keep the intended visible area, action and delivery purpose as consistent as practical. A texture-only frame and a whole-hand demonstration cannot fairly establish which configuration gives better operating clearance: they are doing different jobs.
ONCE’s entry, operation and reset rehearsal
This is a proposed production check, not a completed ONCE client test or universal equipment standard. With the camera and planned accessories in place, walk through the action using the actual product and relevant hand or tool. Include the planned camera path if the camera will move.
Entry checks whether the hand and tool can approach naturally rather than adopt an awkward grip to avoid the lens. Operation checks whether the action can finish while the contact point stays visible and accessories remain clear of the path. Reset checks whether the operator can withdraw and restore the product without dismantling the setup.
Repeat the walkthrough with the intended lighting, reflectors, clamps and flags installed. A clear tabletop rehearsal is not the finished arrangement. Opening, withdrawing and rotating can require space outside the most attractive middle moment of the action.
Keep a record of framing, accessories, product support and the stage that failed. If the complete action has not been checked, mark it unconfirmed. Do not convert approval of a static frame into approval of the demonstration. There is no universal clearance figure offered here; the production team must determine an appropriate margin for the actual movement and configuration.
Change the shot before forcing the action
One option is to split the task: retain an extreme detail for texture, and show operation in a wider close-up. Plan matching product states and the action transition so the edit remains understandable.
Another is to test a different position, optical configuration or product orientation. Do not promise adequate clearance from focal length alone. Compare at the required visible area and actual magnification, then confirm that the new angle still reveals the necessary contact point.
Lighting and accessories can also be repositioned, but their picture function still needs checking after the change. Revisit unwanted light, reflections and framing as well as clearance. If the only workable performance looks unlike genuine use, return to the framing or shot split instead of forcing the operator to accommodate the equipment.
Buy a verified action setup
A useful briefing package includes product dimensions, the detail that must be visible, a full action reference, the tools involved and final aspect ratios. Request an operation test clip with its camera, lens, accessory and support configuration. Changing that configuration requires reassessing the result.
Separate static detail tests, action rehearsals, fixture adjustments and alternative lens trials in the proposed scope. No price or time-saving guarantee is implied. The purpose is to discover which shots work before the main filming day, rather than assume that hiring a lens labeled macro settles the task.
For ONCE, records organized by product structure and action could improve future preparation for similar assignments. That possibility needs actual project evidence; it is not a claim of an existing efficiency database. Approve the complete action before making the beautiful detail frame the only definition of success.
Sources: Sony help guides and Edmund Optics, Gregory Hollows and Nicholas James, Imaging Fundamentals; checked October 28, 2026. The example is hypothetical and the rehearsal method is ONCE’s proposal.