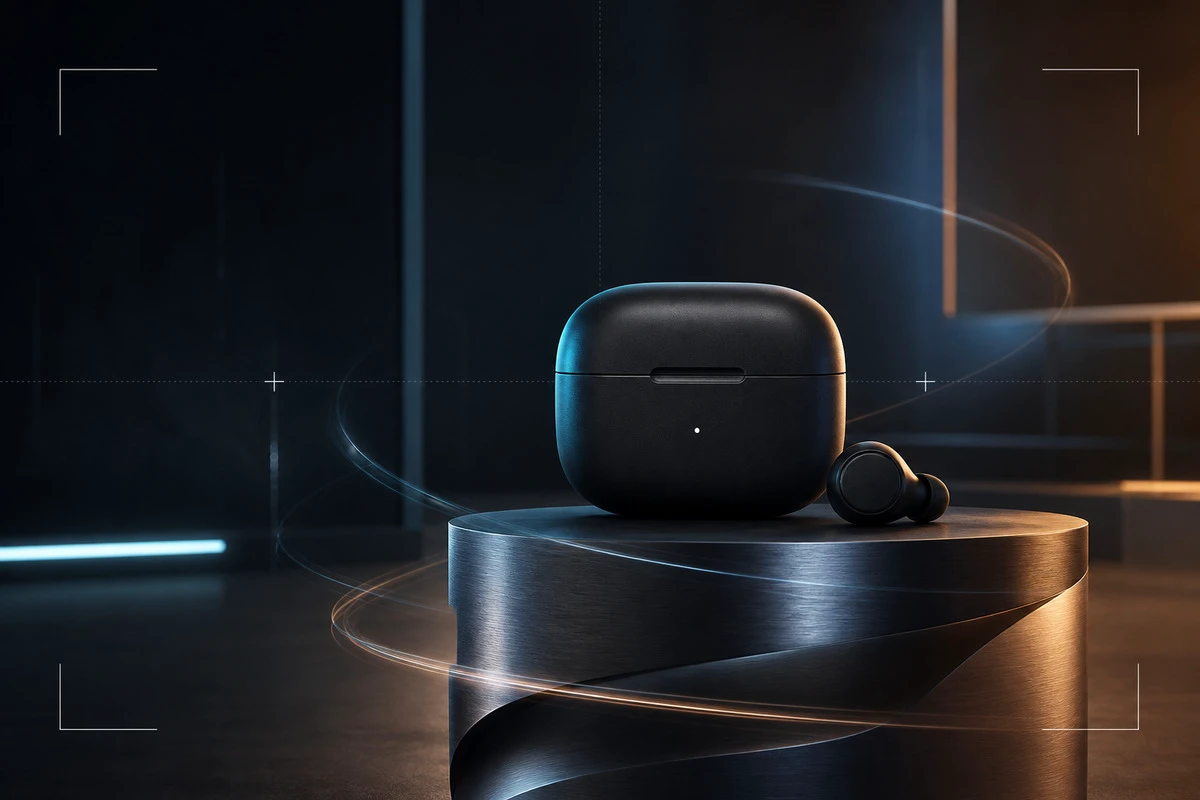
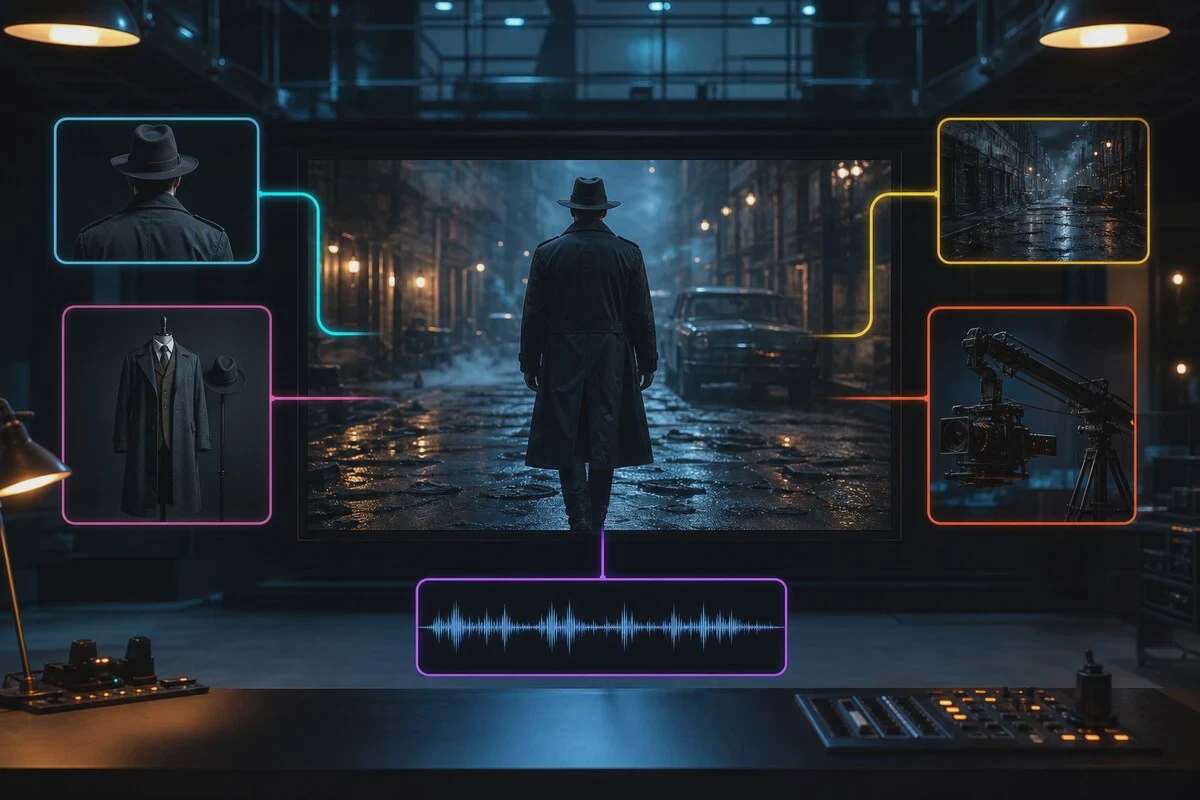
When a Shenzhen product-shooting team places a sample beside the monitor, generated footage often falls just short: the first shot has two cooling slots, the second has three; metal looks like painted plastic in close-up; after the lid opens, the next shot returns to the closed state. The real question is not whether one frame looks similar, but whether the product keeps one identity throughout the AIGC product video.
The solution is not more adjectives, but five continuity baseline cards: structure, material, lighting, camera and state. Select the relevant cards before each generation and compare them item by item afterward. Directors, clients and generation artists can then discuss visible evidence instead of aesthetic guesswork. For international ecommerce and overseas brands, bind Shopify, Amazon and TikTok crops and selling-point versions to the same approved master.
1. The Structure Card Records Details That Must Not Be “Beautified”
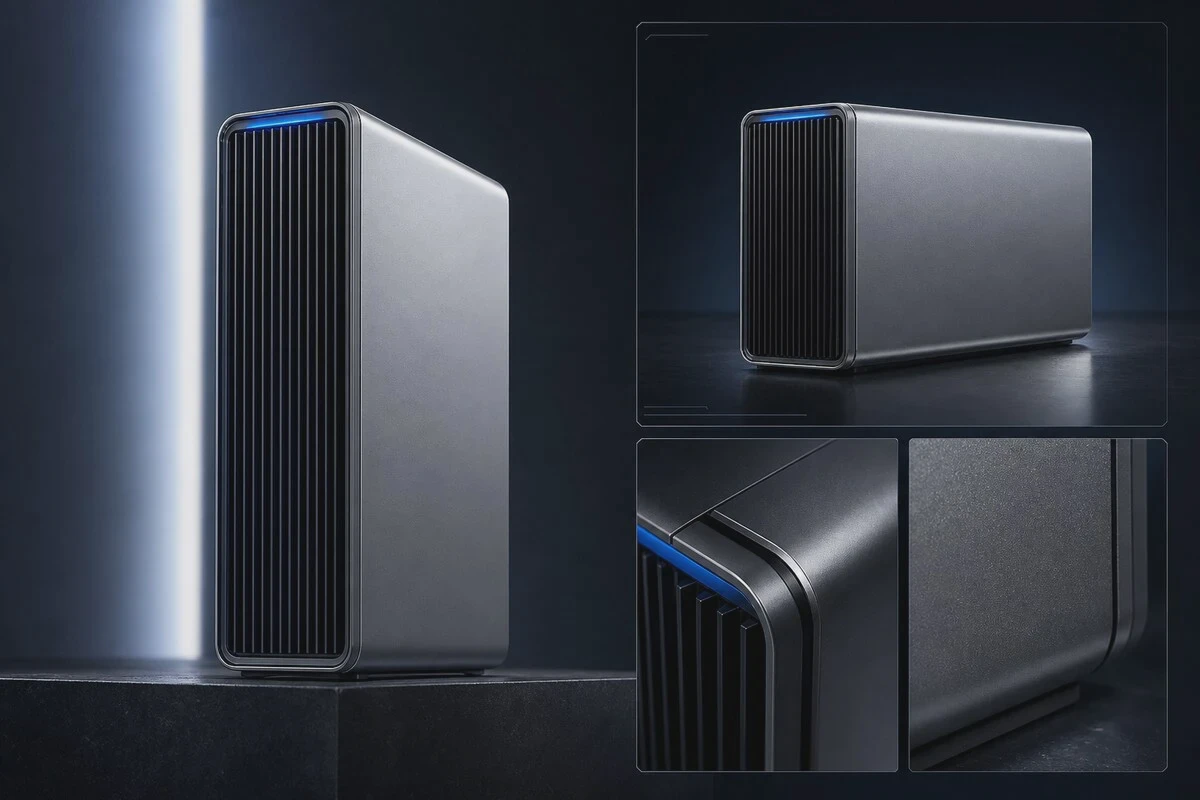
At a minimum, the structure card should include front, left and right 45-degree views, back, top, bottom, and three key close-ups. Shoot each with the same focal-length range, height and even light to avoid wide-angle distortion. List port count, opening positions, edge radius, button relationships, seams and moving parts as checks; one error can distort the demonstration.
Do not describe the subject as “a premium black speaker.” Write “a cylindrical body with an approximately 1.9 height-to-width ratio, a circular touch surface on top, a ring of vertical cooling vents at the bottom, and light-gray woven mesh around the middle.” Structural anchors control identity; style words control atmosphere. Do not confuse them.
2. The Material Card Records Reflections, Not Only Color
Although all may be black, anodized aluminum, piano lacquer, soft-touch plastic and fabric have completely different highlight edges. For the material card, shoot one set under a large soft source, one under a narrow strip light, and one under a hard point source, then add a macro photograph. Record highlight width, reflection clarity, roughness, edge dispersion and contact shadows. Writing these visible reactions into an AI prompt is more effective than writing only “realistic metal texture.”
ACES emphasizes color consistency across capture, post-production and archiving. At minimum, unify input color space, monitoring LUT, delivery gamut and white-balance baseline, or color differences between generated and live-action footage may be misread as a model problem.
3. The Lighting and Camera Cards Must Appear Together
The lighting card records key-light direction, relative size, contrast ratio, background brightness and product rim light; the camera card records focal length, camera height, tilt angle, subject share of frame and depth of field. Both are necessary: lock composition without light and materials drift; lock light without camera position and perspective can distort port placement.
Adobe’s guidance on composition references treats outline and depth as key controls. Apply the idea to product-shot acceptance: check outer contour and spatial depth before tone and style, not the other way around.
4. The State Card Prevents “Time Reversal” Across Shots
The state card records every action node: lid closed, hand approaching, latch pressed, lid opened 30 degrees, fully open and internal structure illuminated. Mark in and out points for each shot and save the corresponding keyframes. If the next shot starts fully open, the preceding shot cannot end at 30 degrees.
For liquids, fabric, steam, particles and other states, also record direction of movement and remaining amount. Continuity is not only about the product; the environment must acknowledge what happened in the previous shot.
5. Establish Red Lines, Yellow Lines and Acceptable Differences
| Level | Example | Handling |
|---|---|---|
| Red line | Ports added or removed, proportions changed, garbled logo or incorrect functional action | Reject the entire shot |
| Yellow line | Slightly narrower highlights, minor background-color drift or non-critical texture change | Localized repair or compositing |
| Acceptable | Random particles or subtle depth-of-field changes that do not affect identification or selling point | Approve after logging the difference |
The editor’s advice is to use red lines to stop incorrect products entering the edit, then use yellow lines to decide whether repair is worthwhile. When budget is limited, sacrifice background variation rather than product structure and action evidence.
6. Complete the Generation and Acceptance Handoff in One Table
- Shot ID, purpose and landscape/portrait requirements.
- Structure-card version and components that must be checked.
- Material-card version and primary highlight shape.
- Lighting card, camera card and start/end state.
- Prompt, reference-asset role, seed and model version.
- Red-line checks, yellow-line log and approved master.
If a Shenzhen team needs to connect real samples, studio capture and generated shots, see U-STUDIO commercial product photography and include baseline-card capture in the call sheet instead of adding it in post.
For implementation, first select three product areas most likely to fail for stress tests, such as a transparent window, dense ports and a moving hinge. Generate a locked-off shot, a moving-camera shot and a functional action separately. Require three consecutive batches without a red-line failure before treating the baseline cards as sufficiently clear for this production test. If the same defect appears in two batches, return to the reference image or shot design and correct it instead of increasing the number of generations. This puts the budget into completing evidence rather than accumulating unusable candidates.