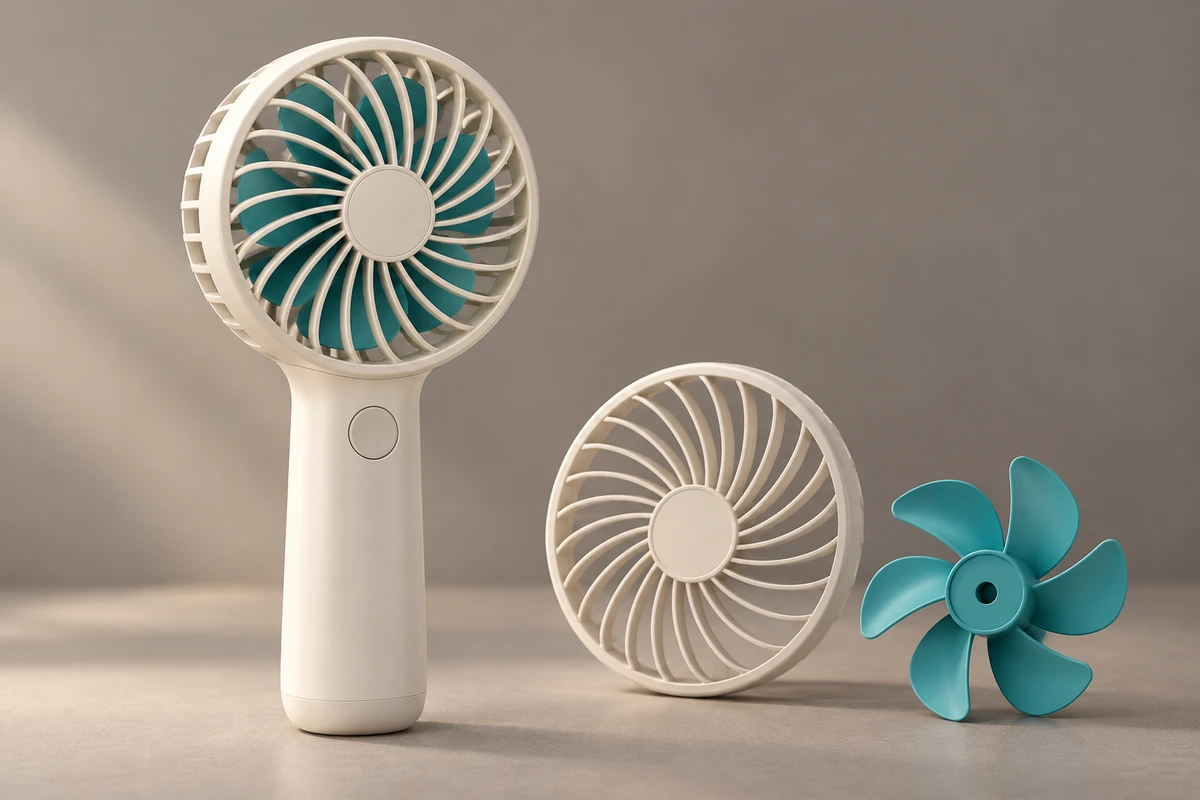
Imagine a small fan commercial. The housing opens, its blades, motor, supports and screws fly in different directions, and the camera circles the product. It is a busy image. Yet when the sequence ends, a viewer may still be unable to say where the motor sits—or what the animation was trying to highlight. This invented scene illustrates a trade-off in 3D product animation: making components visible is not the same as making their relationships understandable.
An exploded view can reveal relationships hidden by a housing. But an advertisement is not a parts catalogue, and complete disassembly need not be its destination. A focused structural sequence should leave the viewer with a specific understanding: where a component belongs, what it connects to and why it matters.
Give the sequence one component-level question
“Show the internal structure” is too broad to direct a shot. For a key drive assembly, a more useful question is: how does it fit inside the body, and how does it relate to the components in front of it? For a replaceable filter, the emphasis might be its location and accessibility. Every neighbouring circuit board need not appear separately.
A useful research precedent is Li, Agrawala, Curless and Salesin’s Automated Generation of Interactive 3D Exploded View Diagrams, presented at SIGGRAPH in 2008. The official project description describes a graph of relative component separation, taking account of part hierarchies and interlocking parts. It also shows a turbine model opened around a user-selected target component.
This is not advertising-effectiveness research, and it does not establish that a particular shot improves conversion. The creative inference is narrower: decide what must be revealed, then decide what needs to move aside. The target should influence the separation paths and camera angle from the outset, not simply become the brightly coloured part at the end.
Group parts into relationships, not a cloud of fragments
Return to the fan as a fictional storyboard exercise—not the internal design of any actual model. To explain the connection between the motor and blades, a rough animation could organise the front grille, the blade-and-drive assembly and the rear body into viewing groups. Small fasteners within a group initially retain their relative positions. The larger relationship appears first; a local connection receives its own close-up only if that is the subject.
This does not mean deleting real components. It means giving them different levels of attention. Pulling every screw out individually increases the visible count but can bury the key assembly among equally prominent small objects. Combining everything inside into one block loses explanatory value in the opposite direction. The question being answered should determine the grouping, not the number of objects that happen to exist in the model file.
Separation distance presents another trade-off. Too little movement leaves the target obscured. Too much makes neighbouring parts look as if they belong to different products. Try holding one recognisable section of the body as a reference while the other groups move along traceable directions, just far enough to expose the important connection. Avoid enlarging a small component to body size merely to fill the frame. If detail needs magnification, an explicit close-up is clearer than silently changing proportions within one view.
Schedule camera motion and component motion separately
A rotating camera, a tumbling product and a moving sweep of light can create the atmosphere of a launch film. When a shot must explain a connection, however, those changes compete for the same viewing time. A useful starting point for a rough animation—not a universal cinematography rule—is to establish the whole product, hold the viewing angle during the main separation, and then move the camera modestly to reveal anything still hidden.
In the fan exercise, a clear front three-quarter view could establish the shape. The grille moves along the main axis; the relationship between the blades and drive assembly becomes visible; the image briefly holds. If that angle still conceals the intended connection, change the camera during the rough animation. Do not expect a dramatic reflection in the final render to explain it. At the critical moment, a stable view with simple surfaces may communicate more than an elaborately rendered object that never stops turning.
There is no universal duration for the hold. It depends on what must be recognised. Show a rough version without narration to someone unfamiliar with the product and ask where the target component originally belonged. If the answer differs sharply from the intention, reconsider grouping, occlusion and motion order. This is a small creative viewing exercise, not validated advertising-performance data.
Reassembly gives the detail somewhere to belong
Separation exposes the parts. Bringing them back together can reconnect those parts with the familiar finished object. The ending may need no additional explanation: the target returns along an established path, the housing closes, and the camera returns to the complete exterior.
That return movement is not automatically a real assembly sequence. Separation directions chosen for clarity, omitted steps and stylised motion should not become instructions for taking a product apart or repairing it. A teaching film requires its own design based on actual procedures, safety requirements and product documentation. Reversing an advertising animation does not turn it into a tutorial.
Nor is full separation necessarily appropriate for explaining fluid paths, heat flow or internal movement. A local cutaway that retains the housing’s position may better serve the question. Choose an exploded view, cutaway or selective transparency according to the relationships that must remain intelligible, not the number of effects available. Visible structure is also not proof of performance: airflow, temperature, noise or efficiency claims need supporting information. Attractive glowing lines cannot supply it.
Connect the internal view to the real product
Live action can establish scale in a hand, surface appearance and a use context; the 3D sequence can then move inside. Each has a distinct job. A useful transition need not preserve every image parameter, but it should retain recognisable orientation cues: the handle direction, button position, silhouette and main axis within the frame. Establish those connections before changing the background or visual treatment, so the structural sequence does not begin with an unfamiliar object.
If the project also includes people using the product, exterior close-ups and content for different purposes, place this explanation within the broader video production plan. An exploded view is a shot that answers a question, not a ritual required in every product commercial. AI imagery can contribute to discussions about mood and visual direction, but exterior photographs do not provide all hidden structural information. Without reliable internal references, imagined components should not be published as the real product.
A useful 3D product sequence ends with an additional relationship understood, not merely a larger number of parts displayed. If you are developing a structural sequence, bring ONCE the relationship you want to explain, the structural information that may be shown and the intended placement. Start the discussion with 3D product animation shot planning.
Source note: the research information comes from the University of Washington GRAIL project page for the August 2008 paper, consulted on October 15, 2026. This article draws on the organisation described there, not an assessment of algorithm performance. The fan storyboard is an original hypothetical exercise, not a client case or engineering illustration.