Imagine a brand gives what sounds like a clear direction: “Move closer and make the material feel more premium.” The real difficulty of macro product video begins after that sentence. Moving closer magnifies texture, but it also magnifies dust, fingerprints, the environment reflected in glossy surfaces, focus errors and tiny vibrations. Details that disappear in a conventional product shot can become the main subject of a macro frame.
Macro, then, is not simply a matter of changing lenses on set or stopping the aperture down as far as it will go. A safer approach is to translate “what the audience must see” into a set of tests that the client can approve before the shoot. The goal is not laboratory perfection. It is to avoid discovering on the day that the material you wanted to celebrate has no depth, the most attractive reflection reveals the entire studio, or a slow product movement no longer feels precise when viewed up close.
Test 1: Define the scale of detail in the final frame
“Macro” is often used as a mood word in a creative brief, but production needs something measurable: which part of the product must occupy how much of the final frame? Is it a watch index, an earbud grille, the texture of a skincare formula, or a narrow highlight along a metal edge?
Test in the intended delivery formats, not only on the camera monitor. A horizontal hero film, a vertical social cut and a product-detail page will crop the same footage differently. A shot that works in landscape may need to be enlarged again for a vertical version. One practical approval set contains three stills: a conventional close-up, a near-1:1 macro view and a version that preserves enough space for the vertical crop. The brand can then choose the area that genuinely needs to remain visible.
Nikon’s official explanation of reproduction ratio defines 1:1 as a subject being recorded at life size on the sensor. It also notes that depth of field becomes shallower as magnification rises and that the effect of camera shake is magnified. In other words, “closer” is not a free upgrade. It changes the lens, working distance, support, focus and movement plan.
Test 2: Treat depth of field as a storytelling choice
If the frame needs only one sharp highlight sweeping across a cap, shallow depth of field can direct attention. If the viewer must read a button, port and scale at the same time, an excessively thin focus plane obstructs the information. The pre-shoot decision is not “make everything sharp.” It is: which plane must be sharp, and for how long must it remain sharp?
Stopping down can add some depth of field, but it is not a universal fix. Canon’s official macro guide explains the trade-offs between a smaller aperture, reduced light and diffraction, and notes that very small apertures may still not provide enough depth of field at close range. Still photographers can combine several focus planes through focus stacking. In video, however, the product, camera and focus may all be moving, so a still-image technique cannot simply be carried across unchanged.
Record four values together in the test sheet: magnification, working distance, aperture and the target focus plane. The client approves the intended visual result, while the camera and lighting teams can see how the same choice affects exposure, lighting output and the movement path.
Test 3: Approve the motion curve before choosing motion-control equipment
A macro frame makes tiny changes at the beginning, end and turning points of a move more visible. A slider move that looks smooth in a wider composition may show a slight sway against the edge of a product in extreme close-up. An off-centre turntable can also make both the highlight and focus drift.
That does not mean every macro shot requires a robotic arm. Start with the job the shot must perform:
- For one short push with no synchronized focus change, stable conventional support and several rehearsals may be enough.
- When the same path must be repeated for different lighting passes or compositing, the repeatability of motion control becomes more valuable.
- If the product itself rotates, opens or releases liquid, stabilize that action first, then coordinate the camera movement around it.
- When focus, iris and camera position must change together, test the complete curve rather than approving the three parameters separately.
MRMC’s official Milo overview shows how a motion-control system can previsualize and repeat a move while coordinating axes such as focus and iris. This is useful for understanding why a complex shot may need repeatable motion; it does not mean that a larger system automatically creates a better image. The buying decision should return to the final shot: does it genuinely require repetition, compositing or precise synchronization? If not, additional system complexity may add no value for the viewer.
For related planning and production guidance, see ONCE’s Video Production Insights. The principle is the same: lock the path before locking the equipment.
Test 4: Draw a boundary between “clean” and “true”
Dust, fibres, fingerprints and small scratches may be inconspicuous at normal viewing distance but dominant in a macro shot. The difficult question is not whether to clean the product. It is how far cleaning and retouching can go while the image still represents the real product.
Before filming, the brand should approve one hero sample and document its acceptable surface condition. Which marks are shipping dust that can be removed physically? Which are part of the manufacturing texture and must remain? Which minor defects may be retouched? At what point would retouching misrepresent what a customer will receive? Cleaning fluid, lint-free cloths and gloves should first be tested on a spare unit so that removing a fingerprint does not alter the finish of a coating.
The same product-truth reference is necessary when post-production or AIGC is used to refine details. TikTok Shop’s current rules for AI-generated product visuals state that generated content must not alter a product’s actual size, colour, shape, features, material or performance. Even when the content is intended for another platform, this is a useful risk check for product advertising: tidy the image, but do not reinvent the product.
Test 5: Use reflections to describe the material
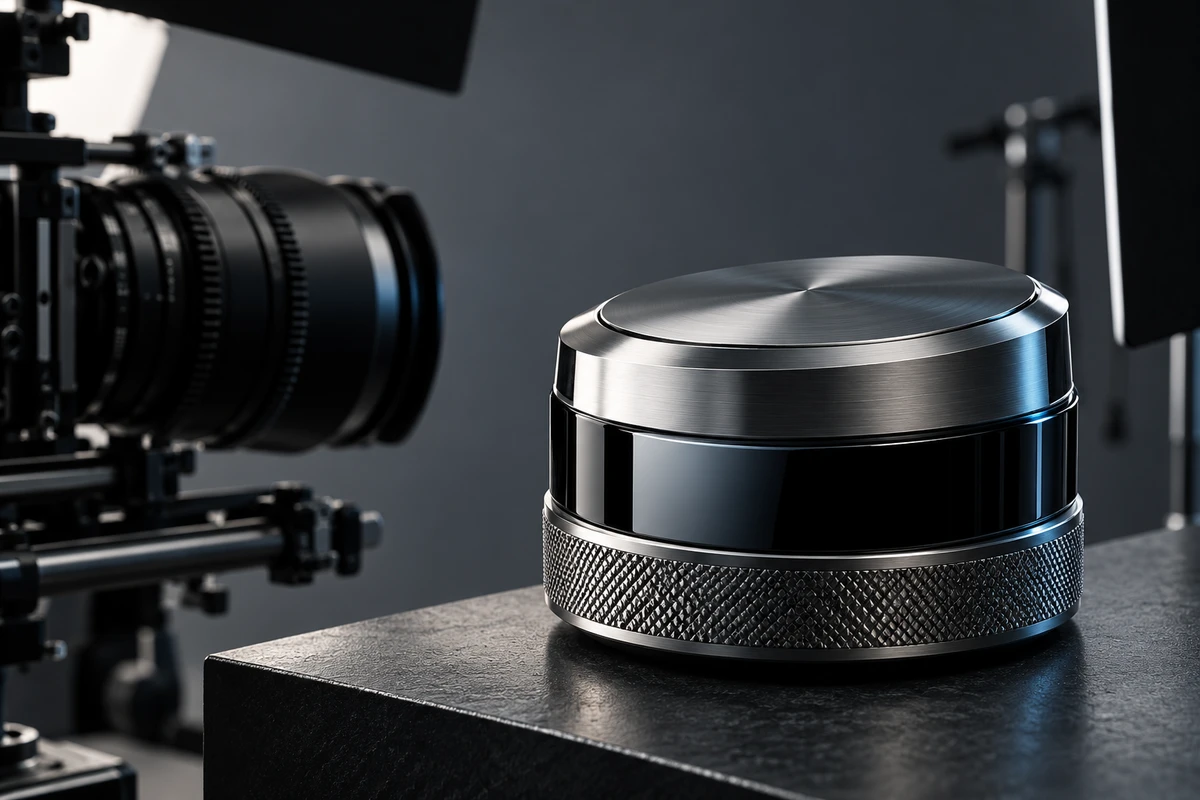
Mirror-finished metal, glossy plastic, glass and jewellery are not simply “difficult to shoot.” They record the surrounding environment in their surfaces. A large white card may create a clean outline but flatten the tonal variation that makes metal look like metal. An all-black environment can produce sharp highlights, yet it may conflict with a brand that wants a softer, warmer material language.
During testing, compare more than brightness. Ask three questions: Is the silhouette readable? Does the material still look like the real product? Is the surface reflecting anything from the studio that should not be there? Keep one brand-approved reference frame for every critical material. The lighting team can then work toward a defined material language instead of repeatedly asking whether the product should be “a little brighter.”
Projects that combine several materials and backgrounds can begin with ONCE’s video production solutions, then allocate a test day according to product size, reflectivity and movement requirements.
Test 6: Turn the results into a one-page macro shot test pack
Useful testing is not a folder full of footage with no decision attached. It is a one-page record that creative, brand and production teams can approve together. For every critical shot, include at least:
- Final use and aspect ratio, including the expected crop;
- Target detail and its proportion of the frame;
- Magnification, working distance, aperture and the focus plane that must remain sharp;
- Camera or product movement path, duration, acceleration and deceleration;
- Hero-sample ID and the permitted limits of cleaning and retouching;
- An approved reference frame for material and reflection.
These six entries do not replace a camera test; they make the test produce a decision. The brand can confirm what the audience needs to see. The agency and producer can judge which shots justify motion control, specialist optics or additional cleaning time. Post-production also knows which details are part of the product truth and which are controllable visual noise.
Not every “close” shot needs true macro
If the goal is simply to give a product more presence in a vertical frame, a conventional close-up with a sensible crop may be enough. If the important information is a hand interaction or the scale of the product in use, a very short working distance may make performance and lighting harder without improving the story. High-magnification macro earns its place when a customer needs the detail to understand material, craft, structure or function—and when that detail can influence a buying decision.
The budget for macro product video should not begin with “which lens should we rent?” It should begin with the answers to these six tests. If you are preparing detail shots for a new product, consumer-electronics device, piece of jewellery, beauty product or industrial component, send the product dimensions, target platforms and three reference images to ONCE VISUAL. We can use them to define the test scope, shot priorities and production plan.